by angela@diggingbliss | Oct 30, 2013 | cambria, central coast, coastal, gardens by gabriel, hearst castle, mediterranean, native, san luis obispo, san simeon, succulents
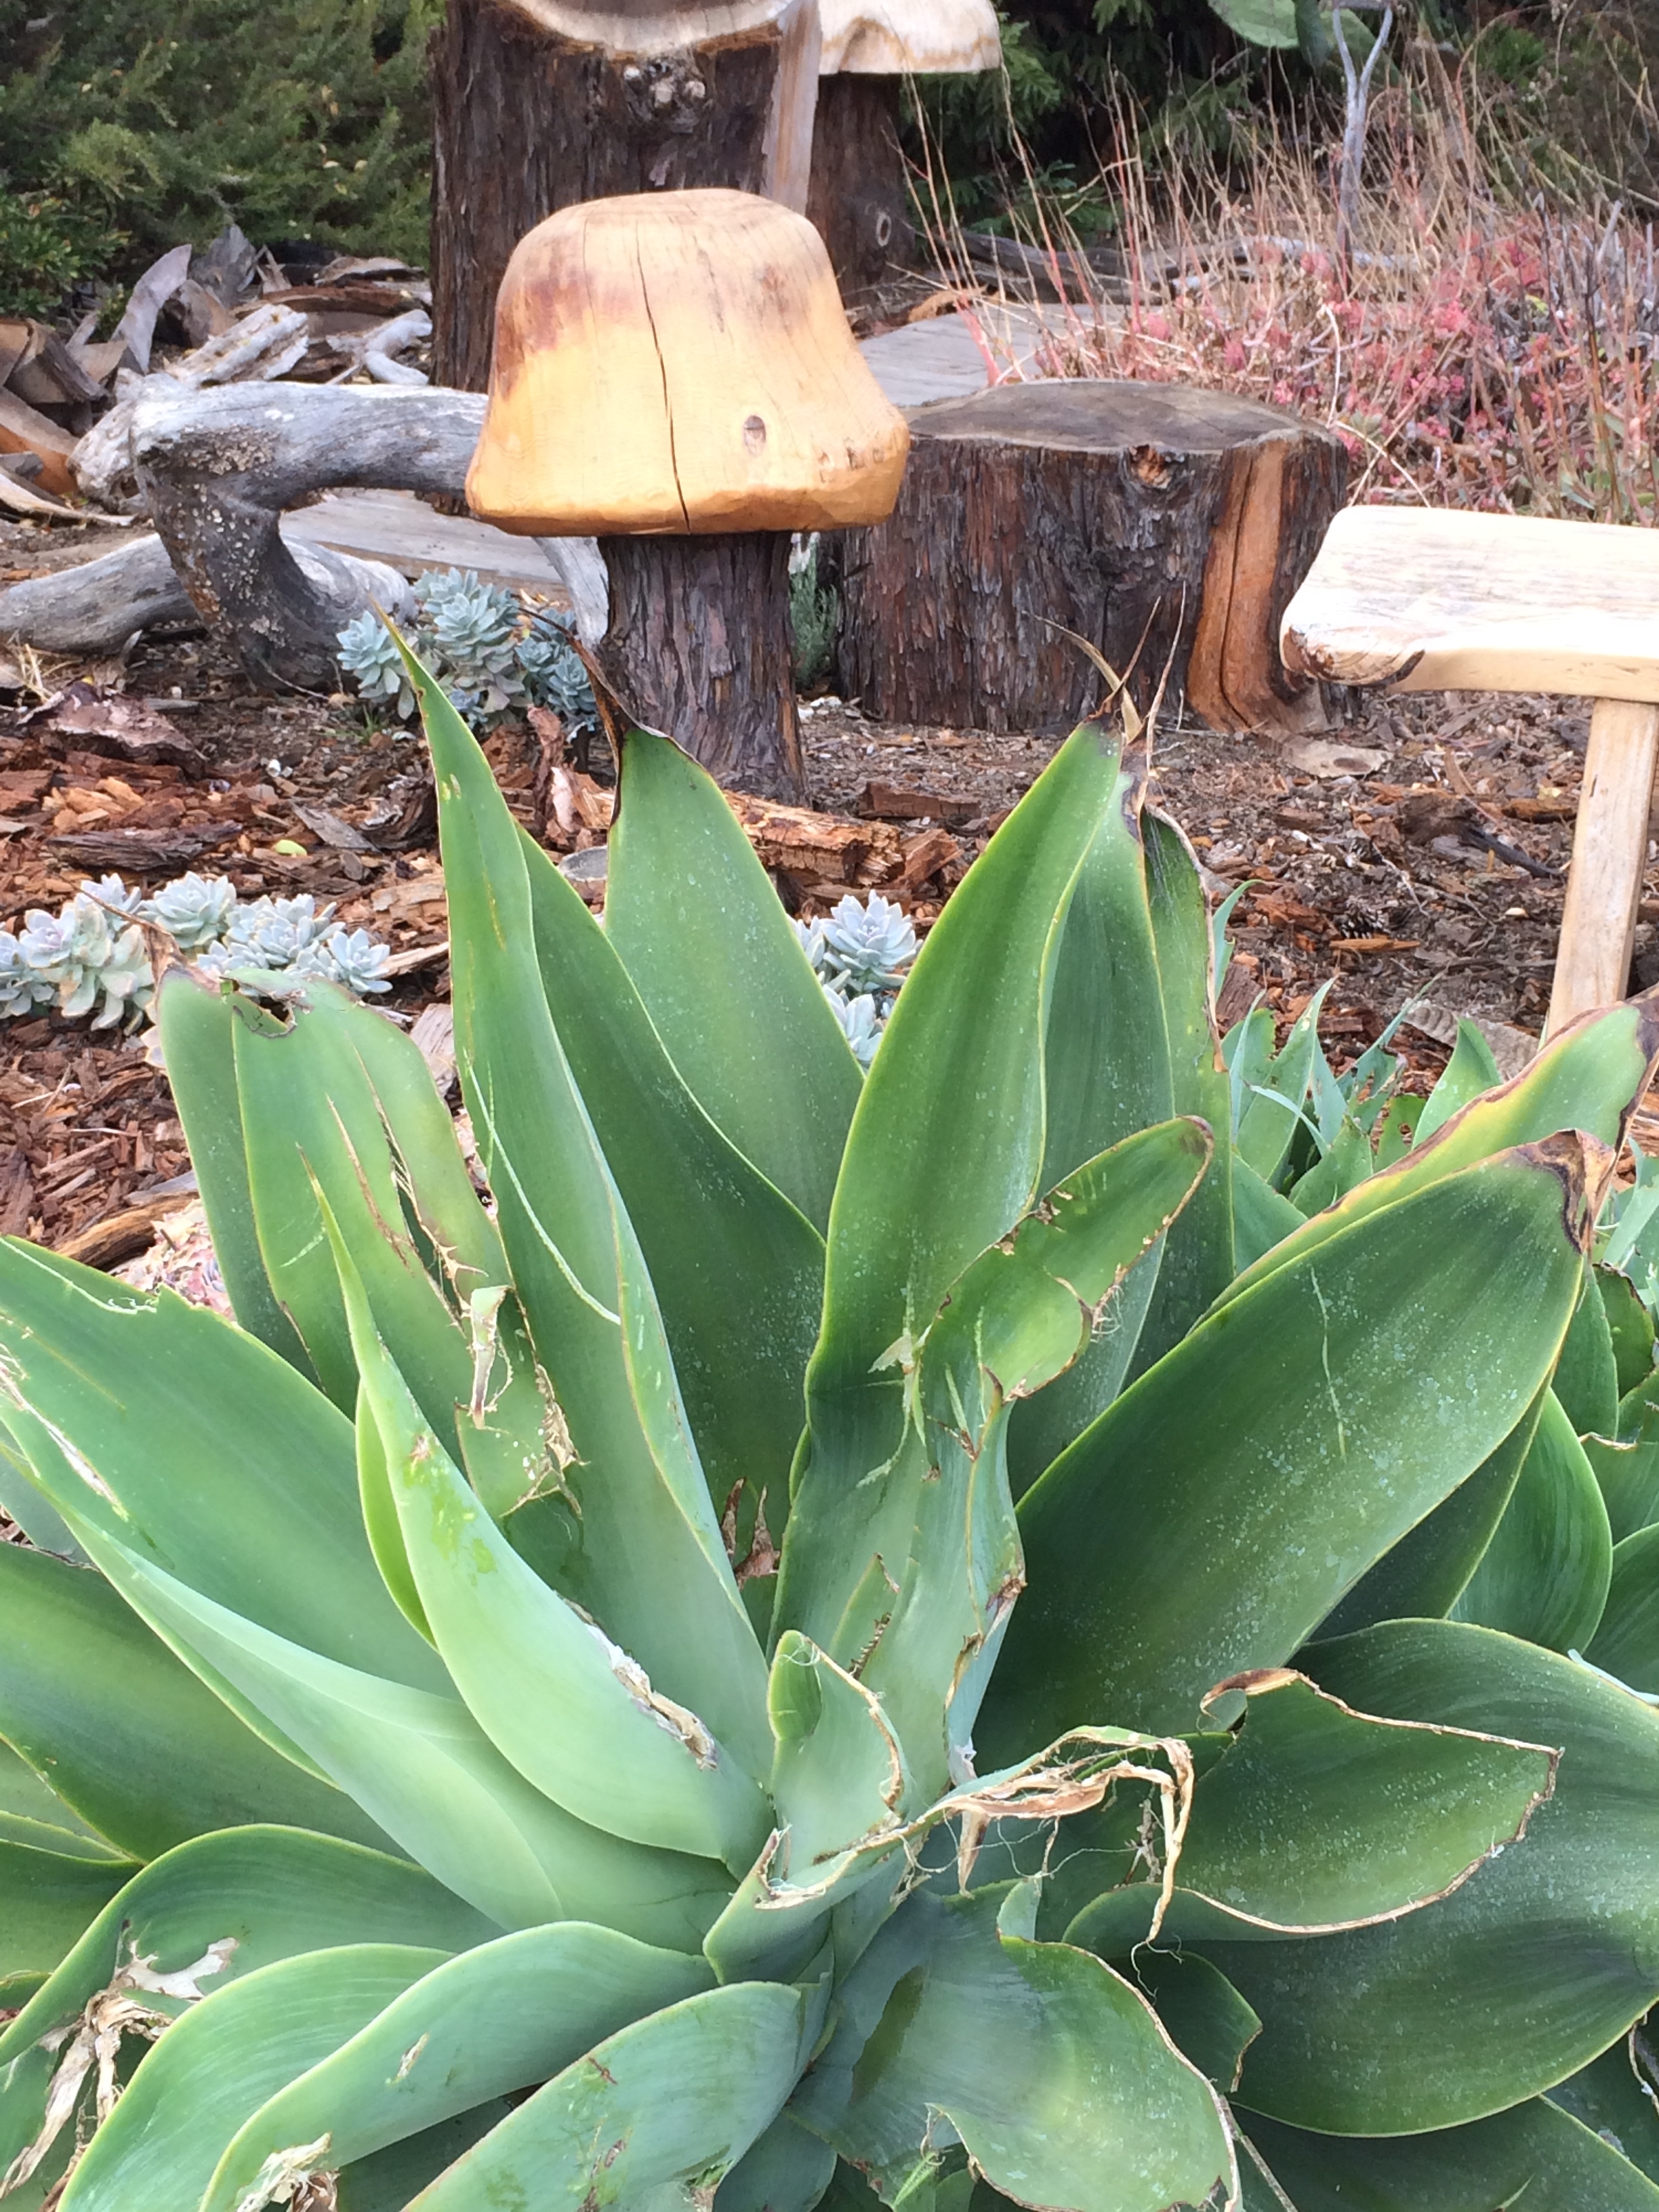
I had no expectations for our two-night getaway to the Central Coast beyond touring Hearst Castle, but ended up discovering much horticultural splendor, mooned over ocean sunsets and ate great food. The plants I saw along the way made the experience that much richer for me.
As a gardener and nursery junkie, I’m always on the lookout for cool plants. Sure, WRH built an obscenely fancy estate on top of a hill with a view of the Pacific… but the palms… oaks… succulents… bougainvillea… and fuchsias! To me, they are as much of reason to tour Hearst Castle as the staggeringly ornate architecture.
There is something magical in the quality of light up there. It was sunny and the sky was deep, deep blue, but everything blooming on the ground was in Technicolor. And in the late afternoon, a warm blush descended on the landscape, making it even more dreamlike.
Hearst Castle


Hotel/Motel landscaping on Moonstone Drive in Cambria


Barefootin’!

Ooh, what will this be? A garden gift shop?

And what have we here? I love this place!


Don’t you wish your gas station looked like this?!


San Luis Obispo Botanical Garden


http://slobg.org/
Turn that car around!


At first I thought this must be a new construction bungalow, but it’s actually a restoration. You can read more about it here, at Plant Propaganda. The house and landscaping are magnificent.
by angela@diggingbliss | Oct 18, 2013 | annuals, flowers, Fredriks, greenhouse, nurseries, nursery, perennials, recycling, vegetables, veggies
Wednesday, I was lucky enough to attend Fredriks Nursery’s “Customer Appreciation Day”. Since Fredriks is a wholesale nursery, its customers are retail nursery owners and employees from all over California. Audrey and Michael and I… who are beginning to feel like The Three Nursery Musketeers after our recent outings for Talini’s… made the one-hour drive from Sacramento to Ripon. Ripon, CA is a small town south of Manteca, CA.
View Larger Map
This was a great opportunity to see the growing operations of one of our primary suppliers of bedding plants, vegetable starts, gallon plants, mixed pots and hanging baskets. Upon entering the grounds, we were quite simply wowed. Fredriks is big. Fredriks is immaculate. Fredriks is well run. Fredricks’ employees are extremely personable. On top of all that… it’s chock full of horticultural color. Their thoughtful attention to detail at this event was impressive, and made us think a lot about how we do business.
We enjoyed our visit and the opportunity to meet everyone and see the greenhouses. It definitely helped to reinforce the reasons we carry Fredriks plants at Talini’s. On the retail end, we get so busy that we probably don’t take as much time as we should to become better acquainted with our suppliers. It was also really great to get a sneak peek at some upcoming plant varieties that will be showing up at local nurseries in Spring of 2014!
The Wake-Up Coffee
We had our choice of cookies, coffee and smoothies to start our day off right. Audrey enjoyed the cookies and we all enjoyed the coffee; I appreciated that they had soy milk as an alternative creamer but had to skip the cookies since I’m gluten- and dairy-free (wah!).

The Greenhouse Tour!
(more…)
by angela@diggingbliss | Oct 14, 2013 | container gardening, DIG Gardens, hanging plants, moss ball, string gardens, vertical gardening

String Garden Party!
On Saturday, my nursery pals Michael and Audrey and I headed for Santa Cruz for a String Garden workshop at DIG Gardens. The workshop was conducted by DIG’s garden manager Jen Dumford. By the end of the workshop, we had each created our very own “Moss Ball”… “String Garden”… “Kokedama specimen” to bring home. Jen brought her experience and friendliness to the table and taught us all the steps (and tricks) for making a hanging Moss Ball.
If you Google “string gardens” or “moss balls” or “kodedama”, you will see an amazing array of moss balls… from the tiniest fern to a fruiting or blooming tree… suspended from a hook or sitting in a bowl or shallow dish. Many articles have been written, and while Kodedama soil recipes and tutorials vary quite a bit, enough step by step instructions are online to get you started, like here on Design Sponge.
These were easy and super fun to make, and a great excuse (as if you need an excuse) to spend a day in Santa Cruz! ♥
What You Need
Tools
- scissors
- pencil
- crochet needle (optional) or medium gauge floral wire
Materials
- sheet moss, preserved or living
- jute, 1 roll
- water
- Kokedama soil mix (generally 70% peat moss, 30% topsoil or Bonsai mix)
- plant specimen, generally in a 2-4″ pot


The Steps
- Add water to soil mix and knead with hands until you get a consistency that holds together and doesn’t fall apart when squeezed slightly.
- Remove plant from pot and gently rub away existing soil around the root ball.
- Add soil around root ball, patting gently to shape into ball. Repeat as necessary until you reach the desired ball diameter. Squeeze out excess water.
- Wrap moss around soil ball. Remove excess moss and patch any gaps with moss pieces. Pin as needed with floral wire bent into a U shape (remove after).
- Start wrapping mossed soil ball with twine, continuing until gaps between string are approximately 1 inch. You can use one continuous piece of twine, or you can use long sections (3-4 feet) cut and tied off. Using cut pieces of string allows you to tie off to other pieces and adds to the overall strength of your ball.
- Add 1-4 pieces of string to the sides of your ball, cut to desired length, and make a loop at the top for hanging. Use crochet hook or floral wire with a bent “hook” end to fish twine through wrapped portions of twine. Cut tied-off ends to about 1/2 inch and tuck into ball using sharp end of pencil.
- If you prefer not to hang your ball, skip step 6 and display your moss ball in a bowl or shallow dish.

Jen wrapping her moss ball.

Audrey forming her soil ball around a coffee plant’s rootball.

My asparagus fern, loosely wrapped with moss.

Proof from Michael that this is a hands-on workshop.

My fern, shaping up with twine.

Michael figuring out where to add twine.
Ta da!!!!!

Angela’s asparagus fern Moss Ball!

Michael’s fern moss ball!

Audrey’s coffee plant Moss Ball!
Here’s a start-to-finish video tutorial from another nursery. Note: It is different from DIG’s. Still fun to watch… but different.
It’s not exactly the same technique, but it give you some visuals on how to make a string garden. If you are in northern California, try to attend one of DIG’s workshops! I’d love to attend more.
Here’s my little Moss Ball, back in Sac, hanging from my backyard patio cover.

My Moss Ball, out on the back patio back in Sac.
by angela@diggingbliss | Oct 11, 2013 | Uncategorized
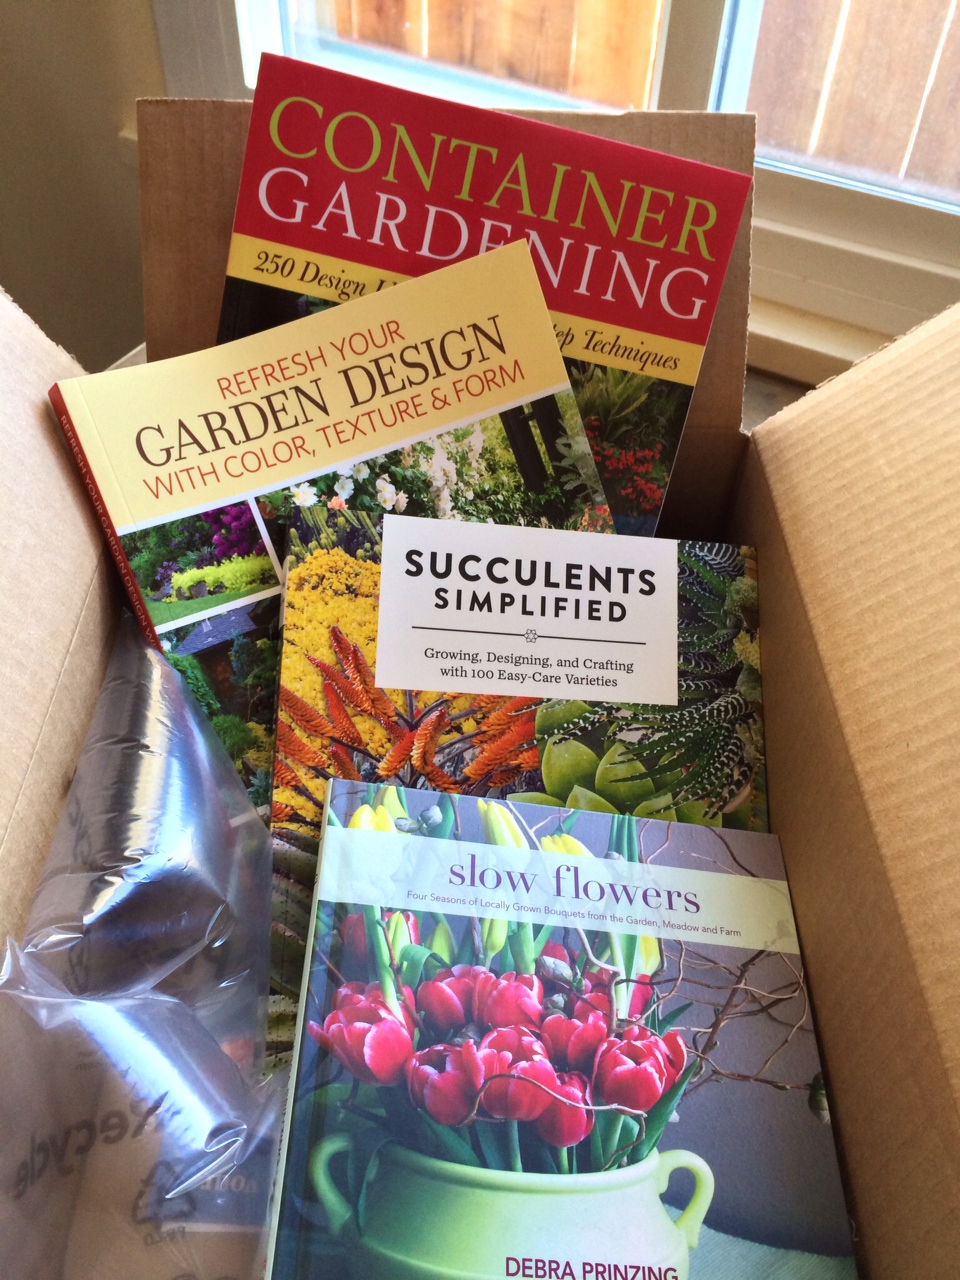
I rarely buy “paper books” these days, due to my lack of shelf space and frugalista tendencies. Instead, I use my SFPL and SPL library cards to download digital books. This works especially well for fiction and literature (mostly essays, in my case), but with gardening books, I prefer owning print copies so I can refer to them any time.
How did I justify this purchase? I was given a gift card by my mom in exchange for computer help. I absolutely refused her offer to pay me, of course, but she was persistent so I finally gave in to her offer of a gift card she “didn’t need”. I’m always happy to help friends and family with computer issues, gardening, etc. They help me with things too, like icky-boring-housecleaning and couch shopping.
What I got–
I’ll report back after I’ve had a chance to peruse the books. At the moment, I’m busy figuring out what to make for dinner, and tomorrow I’m off to Santa Cruz for the String Gardens workshop at DIG Gardens! Stay tuned for a blog post on that!

by angela@diggingbliss | Oct 1, 2013 | bulbs, landscaping
Being around the house more these days, I now have the time and energy to work a little bulb magic! Living in a tiny house with a small yard on the fringes of East Sacramento’s “Fabulous Forties” can be a little deflating at times. The “Fab Forties” is a neighborhood of mature tree-lined streets and well-kept mansions and bungalows. They do it up big time for Christmas, 4th of July and many homes in the area are professionally landscaped.
My Christmas light display will never come close to the wonder and grandeur of The Forties. My flowerbeds will never contain the hundreds (thousands?) of tulips and other bulbs that stop traffic every spring. Why? Because it’s an expensive proposition, even scaled down. And tulips need replanting every year. And if I were to buy my bulbs individually at nearly a dollar each… well, forget it. But you know what? I like living a scaled down life right now. It can be described with all kinds of good words like “affordable” and “manageable” and “simple”.
Come to think of it, I don’t want to be the “crazy tulip lady” or “crazy Christmas lights lady”, spending thousands of dollars each year and exhausting myself with the pressure to outdo my neighbors or myself from the previous year. I’m OCD enough without having to add Spring and Christmas into the mix.
Still, I thought about the tulips… “Why not me?” After doing a little online research, I found Colorblends, a bulk supplier of bulbs with great prices and a good reputation. After perusing their online catalog, I ended up ordering 100 tulip bulbs ($35) and 25 daffodils. The tulips will line my walkway like a mini version of the Fab 40’s displays. It won’t be as dense or expansive, but a hundred tulip bulbs is still pretty cool considering right now I put on a sweeping display of zero.
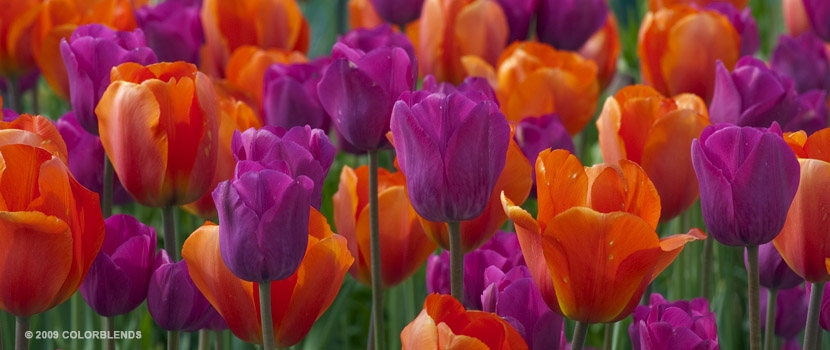
And, OMG, Colorblends offers… well, color blends of different tulip varieties that develop and bloom much like a fireworks display. Varying heights, colors and maturation times ensure a nice long display that comes on quietly and steadily, then explodes into bloom like the State Fair fireworks display. The blend I ended up going with for Spring, 2014 is the Jacques and Jill™ blend. It’s breathtaking and lively.
I wanted colors that will mesh well with what I’ve already planted, like my pinky-peach Abutilon, my magenta Phygelius, and yellow-pink-orange Cuphea. I think of my new tulips as a Fab Forties display in micro. Micro-fab.

Jacques and Jill Tulip blend from Colorblends (Photo courtesy of Colorblends)